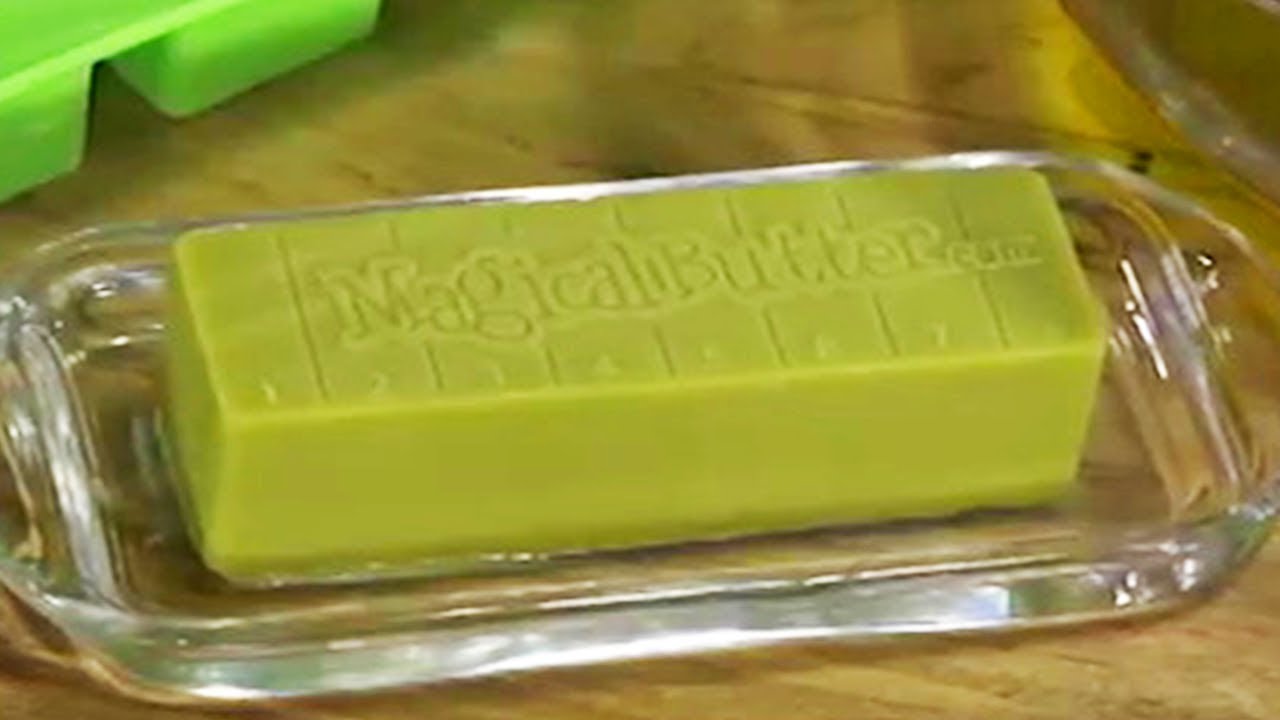
OFFICIAL Butter Molds Kitchen Essentials YouTube
1. You'll need: Room temperature butter, a knife, plastic wrap, a mold. 2. Spread the butter into the mold. Pushing down to remove any air bubbles. 3. When you have filled all of the mold shapes, make butter flush with base of mold by using the back of the knife (or a pastry scraper or spatula) 4. Cover with plastic wrap. and place in the freezer.

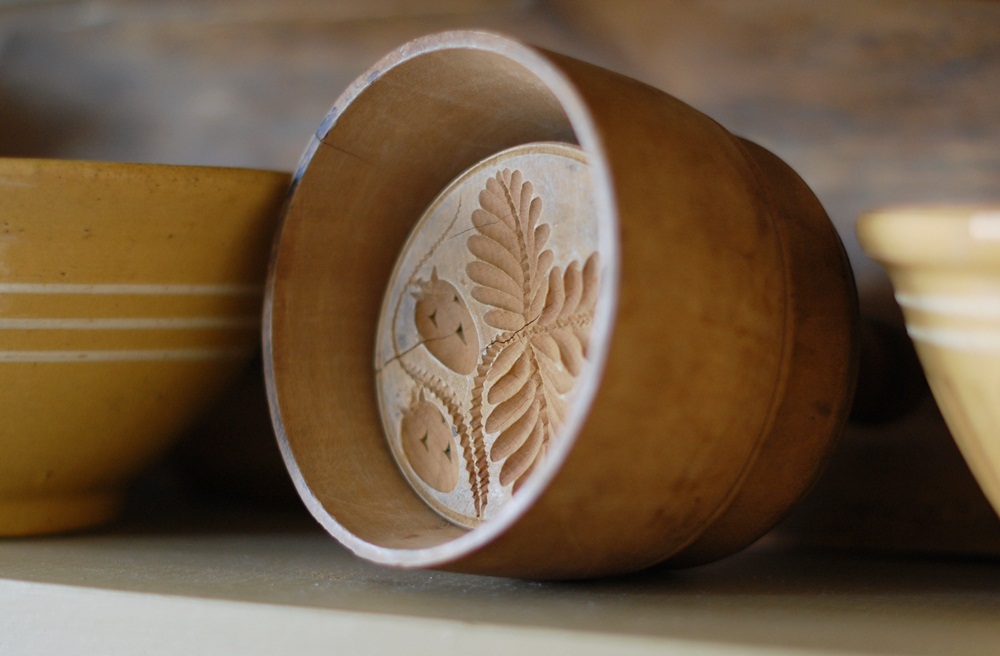
Butter Molds — Butter Journal
You also get to see an antique butter mold in action. This. Don't have a butter mold? No problem! We show you how easy it is to shape your butter, mess-free. You also get to see an antique.

RARE Carved Half Round "Heart" Butter Print Butter Stamp Butter Mold
Spread softened butter in the mold cavities, and scrape off any excess butter. A small offset spatula is a great tool for this job. The bend in the spatula, along with the flat edge, makes it easy to scrape off the extra butter leaving a level surface. Pop the butter-filled molds in the freezer. Not the fridge, the freezer.
Frog Goes to Market Antique Butter Mold
Instructions. 1. Start with a small mold and very soft, unsalted butter. 2. Fill the molds with softened butter, using a spatula to work it in. Try to make sure there aren't any air pockets between the butter and the pan. 3. Freeze the butter for about 1/2 an hour (it freezes quickly) or longer.
Sew Historical...and other fun stuff How To Use Wooden Butter Molds
Exposure to heat greatly increases the likelihood of your butter going moldy. The first reason for this is that heat will promote the growth of mold, allowing it to spread and grow more quickly. Secondly, when butter is warm, it becomes softer. This allows the mold to penetrate deeper into the butter itself. 3.

Frog Goes to Market Antique Butter Mold
12-Cavity Silicone Mini Valentine Heart Mold, $7.50. Simply let your butter get to room temperature, so it's easy to spread. Fill each cavity of your mold and put it back in the fridge until the butter has hardened again. Pop each one out before dinner and store in an airtight container. When it's time to serve, put the pats on a plate or.
Easy Homemade Butter Molds YouTube
How to fill butter molds. Lay the mold on a flat surface like on a large plate or cutting board. Make sure the plate or board will fit in your freezer. Use a butter knife or small spatula to scoop up some butter. Work with small amounts and build up the butter in the mold. Press the butter into the mold.

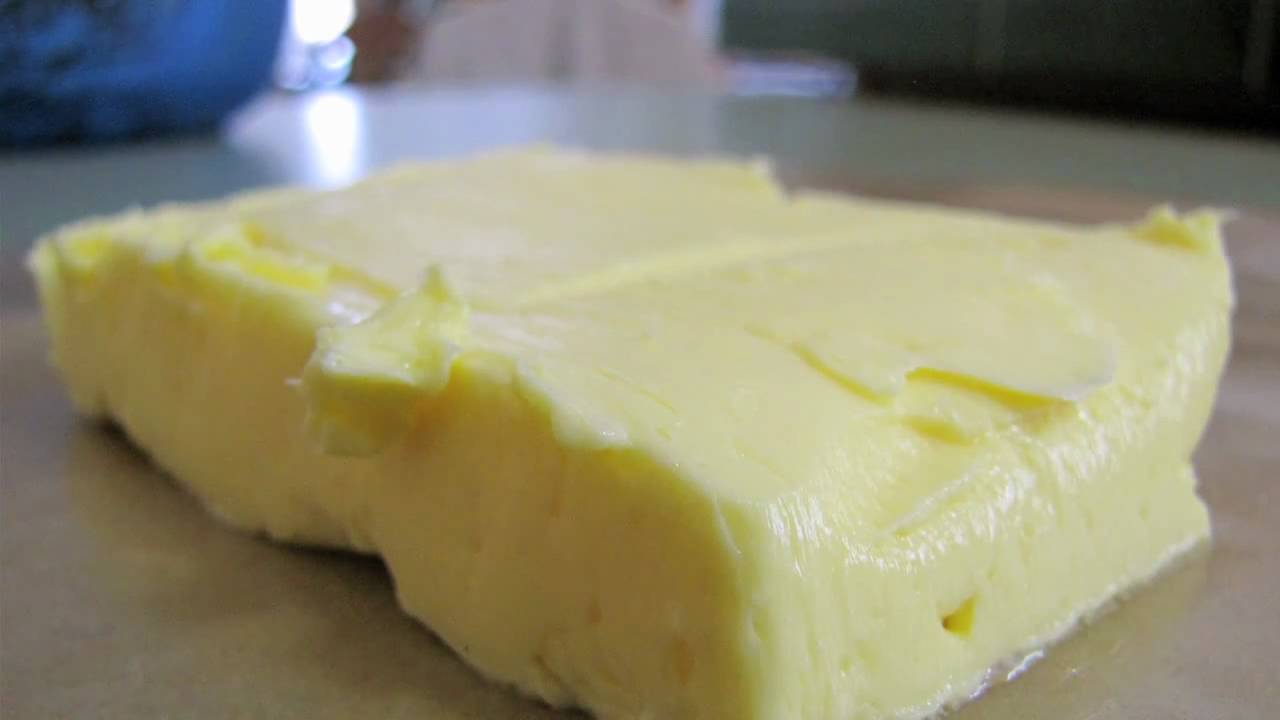
Butter Mold The Self Sufficient HomeAcre Homemade butter, Butter
1) Use the right amount: Start with a small amount of garlic powder and gradually add more to taste. Remember, a little goes a long way. 2) Mix well: Use a fork or a spoon to thoroughly mix the garlic powder into the butter. Make sure that there are no clumps or pockets of garlic powder left.
HowTo Video Easy Butter Molds
Be sure to fill the molds to the top. Step Three. With the back of a butter knife, run it across the top of the mold, creating a flat and even back on the butter in the molds. Step Four. Place the mold in the freezer and leave there for 2-4 hours or until firm. You know have shaped butter pads!

How to Mold Butter Hey Big Splendor
How to Fill a 3d Mold with Butter. Using a spoon, rubber spatula, or a butter knife spread a thin layer of butter into the mold. Take care to push the butter into all of the nooks and crannies. Flip the mold over regularly to make sure that you're getting good coverage. Fill in any gaps or holes as you work for the best results.

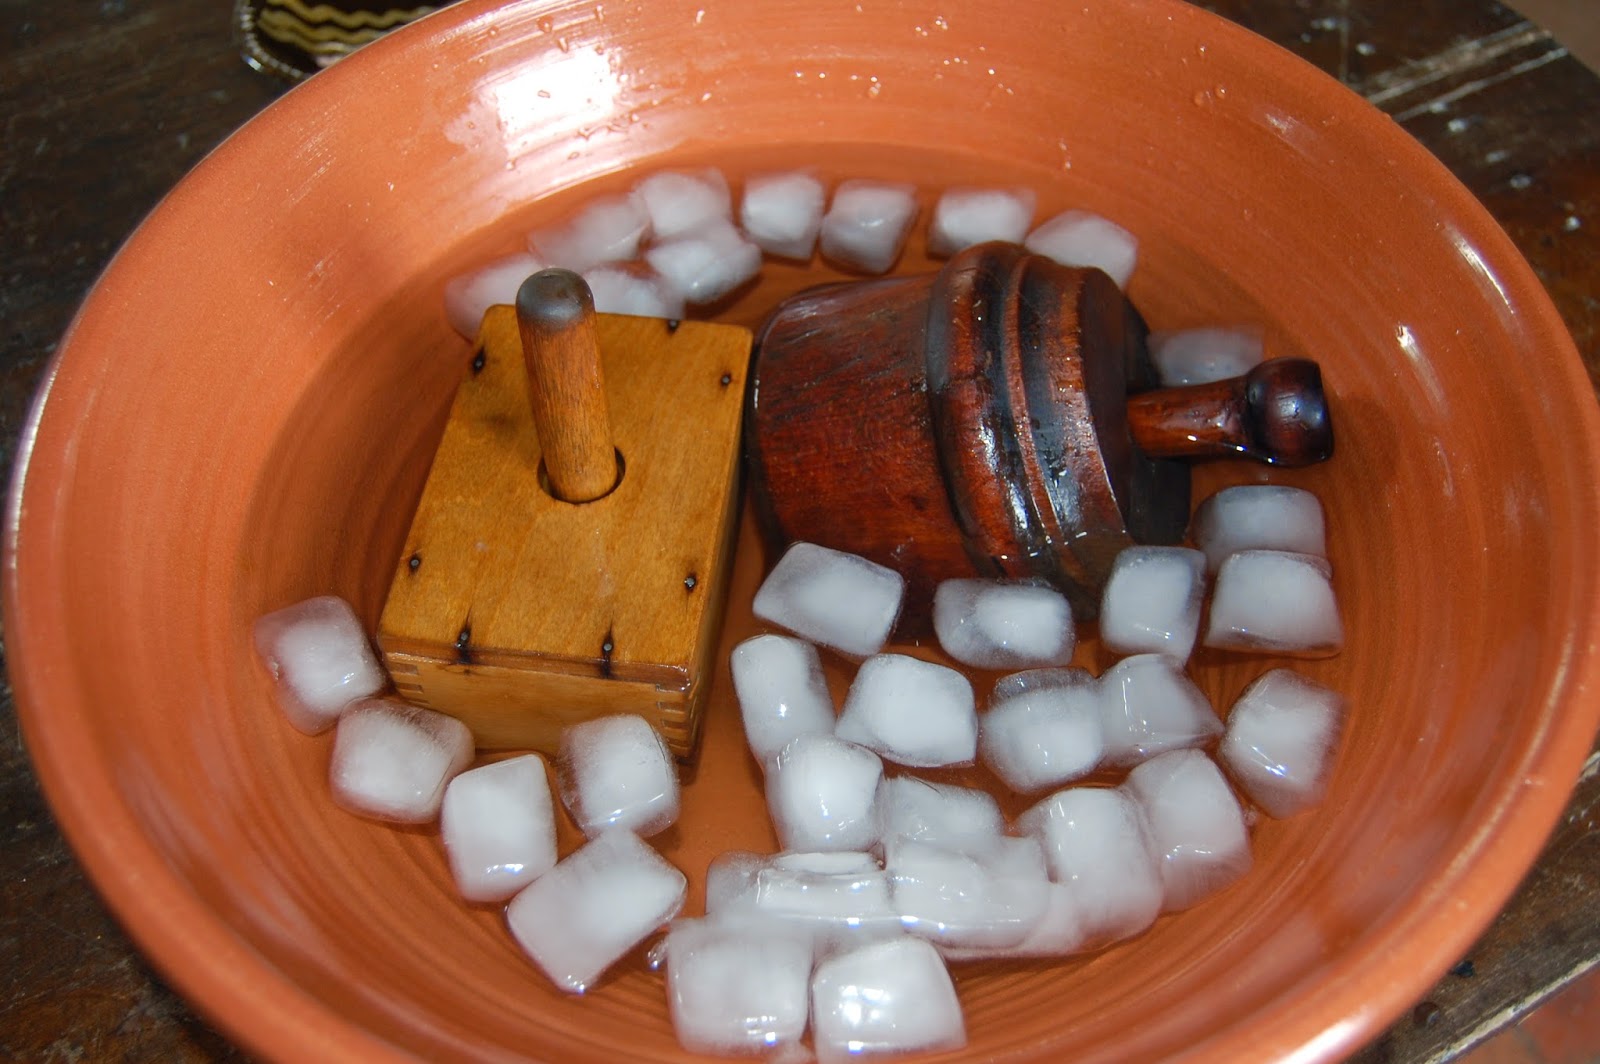
Contemporary Makers Butter Mold
Be sure to visit the channel and subscribe! In this video, I show you two easy ways for molding homemade cultured butter (or uncultured butter, for that matter) — one method doesn't use a mold at all, and the second uses an antique butter mold. This is a short excerpt from the cultured butter lesson of the Cultured Dairy and Basic Cheese.

Butter Molds — Butter Journal
1. Soften the butter. (Do not try to do this in the microwave, as it will be uneven.) 2. Fill the mold with it and press gently on it, being careful not to leave air holes on the inside. Wipe off the excess around the top. Photo from Butter Journal. 3. Put the mold in the freezer for a half hour or more.

How to Mold Butter Hey Big Splendor
Bring a stick of butter to room. temperature. First work butter into all the crevices of the design. Then spread it into the corners of the round cavity. Then fill the mold, continuing to push the butter down into all the nooks and crannies of the design. Turn the mold over and check. that the butter has filled in all.

How to Mold Butter Hey Big Splendor
Press down to really try to get the butter into all of the cracks and crevices of the mold. Once your mold shapes are full, smooth out the tops of each shape on your mold with a knife. Place your filled mold into the fridge to harden. Once your butter has chilled and hardened, simply pop each shape out of the mold and place them onto a plate.

How to Mold Butter Hey Big Splendor
Tap your mold on a hard surface to remove your butter. Voilà! Very pretty butter! Depending on your preferences, you might like to add a bit of salt to your butter. For the 2 pints, you could start with 1/2 tsp and increase the amount if you like. You can add other flavors such as herbs or spices to your butter.

froo*gal The Simple Beauty of Antique Butter Molds
Mold the butter. Use a silicone spatula or flat knife to push and spread the softened butter into the mold. Push down to avoid any air pockets. If you're using a wooden mold, set entire filled mold in the refrigerator to harden for an hour. For silicone molds, save time by placing the filled mold in the freezer for 30 minutes.